Showing posts with label dinner. Show all posts

Friday, March 23, 2012

Black Bean Chicken with Rice


Welcome back, fellow food lovers.  Been a while, but we’re back and ready to get cooking.  Lately I've been busy working on some projects and hitting the gym, so I figure why not give you a recipe for something good for the body and the mind.  For those looking for a low-fat, high-protein dinner, I present to you:  Black Bean Chicken with Rice.

These ingredients should be right out of your pantry.  All you need is:
1 can of black beans (15oz)
1 can of diced tomatoes (15oz, better if flavored with garlic/basil/etc)
1lb Chicken Breast
1 small/medium onion
1 cup rice (uncooked)
2 cups chicken broth (or 2 cups water and 2 bouillon cubes)
garlic

Begin by preparing the rice as per packaging instructions.  This will take about 15 minutes if using non-instant rice.  While the rice boils, cook the chicken breast on a separate grill or pan.  Cook for 4 minutes each side, and make sure the middle turns white.  This should take a few minutes, so in the meantime dice up your onion and open your cans of beans and tomatoes.  Drain the tomatoes fully but keep most of the liquid from the beans – you will use this.  Once the chicken is done, dice it up into small chunks.  The rice should be done by now.

If there is any water left in the rice, drain it, and return it to the stovetop.  Add in the chicken broth or 2 cups of water and heat to a boil.  If using water, add the bouillon cubes after it boils.  Lower the heat to a simmer, then add the diced onion, chicken, tomatoes, and beans in their liquid.  Add a few sprinkles of garlic power as to your taste.  You can always add more later.  Cover and cook for 8-10 minutes, stirring occasionally.


And that’s it.  Dish it out and enjoy!  This recipe made three good servings, so invite some friends or prepare for leftovers.    

Good Grazing!
-J

Friday, April 1, 2011

Chicken Stuffs

Hey there foodies

So we missed a recipe last week due to technical difficulties, but don't worry, great things come to those who wait.  If you've been keeping an eye on our Twitter page you may have seen photos of some fat pieces of stuffed chicken.  Well, I think it's about time to reward you with the recipes!

This is yet another dish that you can get creative with.  Follow the directions and try your own combination of seasonings and fillings.  Lots you can do with this so have fun!  I will show you two different versions I have made.

This dish came out particularly amazing.  And the best part is, it's really easy to make.  This is the type of thing you'd find on the menu at some very high end restaurants.  But you can make it at home in the time it would take to drive there!

Start with a nice size chicken breast and pound it as flat as possible.  Grab a mix of spices and preheat your oven to 450 degrees.  For the first recipe, I  first used a dry rub of garlic powder, chili powder, red pepper, black pepper, and salt.  Work this into the breast while you are tenderizing it.


Now butterfly cut the breast and rub some more of the seasoning into the inside.  Once saturated, rub in some barbecue sauce.  This will keep the insides tasty and moist!


I wanted to go with a western theme for this piece, so I chose a combination of diced ham, onion, and a spicy cheese blend.  You could add some diced peppers too if you can fit them in!  Use about a handful of each ingredient.  Try to make sure they're all on one side of the cut so you can fold it easily.


Fold the chicken up, making sure everything fits nicely within the pocket.  Now cover the outside with barbecue sauce.  You don't need a lot for this, a few blobs will coat the chicken nicely.

Now for the fun and messy part.  Grab a few strips of your old friend BACON!  Two to three strips should suffice.  Stretch out each strip, making sure it doesn't break.  Now carefully, tightly wrap the bacon around the chicken.  Hold it tightly so nothing falls out.  You may want to start by putting the bacon on the bottom and wrapping it around the top.

You will notice a few grill marks in the photos here.  I originally tried to grill the chicken but noticed it wasn't cooking properly.  The sides don't get cooked, and you can't turn the chicken because the stuffing will fall out.  If you want to cut out a bit of the fat though, put it on a foreman grill for a few minutes after the juices start dripping, but the real cooking will be done in the oven.  Warning, if you use the grill first, the bacon may come out a bit soft in the end...

Wrap the chicken securely in tin foil and place on a cooking tray in the oven.  Cook for 15-20 minutes.  Keep it at 450 degrees, the tin foil locks in the moisture and prevents it from overcooking.


Take the chicken out of the foil and place onto a plate.  Cover with the leftover juices and serve with a nice side dish.


**  BONUS RECIPE  **

Want a quick, easy, and satisfying side?  Take a box of store brand Scalloped Potatoes and make as directed.  Halfway through cooking, add in a can of mixed veggies.  Now you have some healthy vitamins to go with your protein-laden cuisine!

I've done this a few times, so let me share an additional style.  Follow the above directions, but instead use a salt and pepper dry rub.  This time, I used spinach and cream cheese as the filling.  Take a handful of canned or frozen (thawed) spinach and some diced onion.  Take a bar of cream cheese and cut off about half an inch lengthwise.  Add this to the spinach/onion mix and fold over.  Again wrap with bacon.  This time, I breaded each piece with a simple flour coating.  I didn't find this necessary with further recipes, but if you want to get playful and try frying the chicken, this would be a very welcome step.  Wrap in tin foil and cook for 20 minutes at 450 degrees.  This time around, I used the cranberry sauce as seen with the recipes from last season.
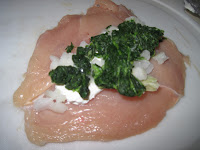


One piece of advice, make sure you dry rub the inside of the butterfly cut.  I tried this a few times, and the ones seasoned inside and out came out much better.

The best thing about this recipe is that it is quick and easy.  Start to finish it shouldn't take more than half an hour.  Plus, you can be very creative with the ingredients.  Other filling ideas I've had include Ham and Pineapple and Spinach and Feta.

So have fun cooking and enjoy!  And please, if you enjoy these recipes, please leave your comments and follow us on our Facebook page.  Followers get sneak peaks and photos of other interesting recipes.

Bon Apetit!

jb


Sunday, November 21, 2010

Having a (meat) Ball!

There's nothing like a classic italian-style meatball...  Unfortunately many a restaurant just lump some ground beef together.  The proper meatball should be a mix of meaty and spiced flavors.

You can make a meatball with pretty much any ground meat you have..  I've seen chicken, turkey, and lamb.  But to get the perfect classic taste, I used 2 parts ground beef to 1 part pork sausage. (I used 1lb of ground beef for this recipe)  And that's just where the goodness begins!

Meatballs are fairly easy to make.  It isn't actually that much different from making a meatloaf.. just in a different shape with a few slightly different ingredients.

On that note, grab a half-cup of bran flakes (or your favorite grainy cereal) and grind them up in a food processor (or with your fists!) until they're nearly powdered.  And preheat your oven to 375*

Take your mix of ground beef and sausage and mix thoroughly in a large bowl.  Then, knead in an egg.  Spread evenly inside the bowl.  Cover with a thin coat of tomato sauce and grated Parmesan Cheese, and knead once more.

Then add in the brancrumbs and sprinkle on a layer of each of your favorite spices.  I used Oregano, Basil, Chili Powder, and Pepper.  The amateur chef may not have Fennel lying around, but if you do, throw some in also!  You can also dice in some pepper and onion if you would like.  I skipped the onion this time around, but threw in one finely diced Serrano pepper for some heat.  Mix together rigorously until everything is evenly distributed.

Now for a little Edible Rex secret...  how to keep the meatballs in shape.  Cooking them in a pan can cause them to fall apart...  So I used a...

Muffin Tray!

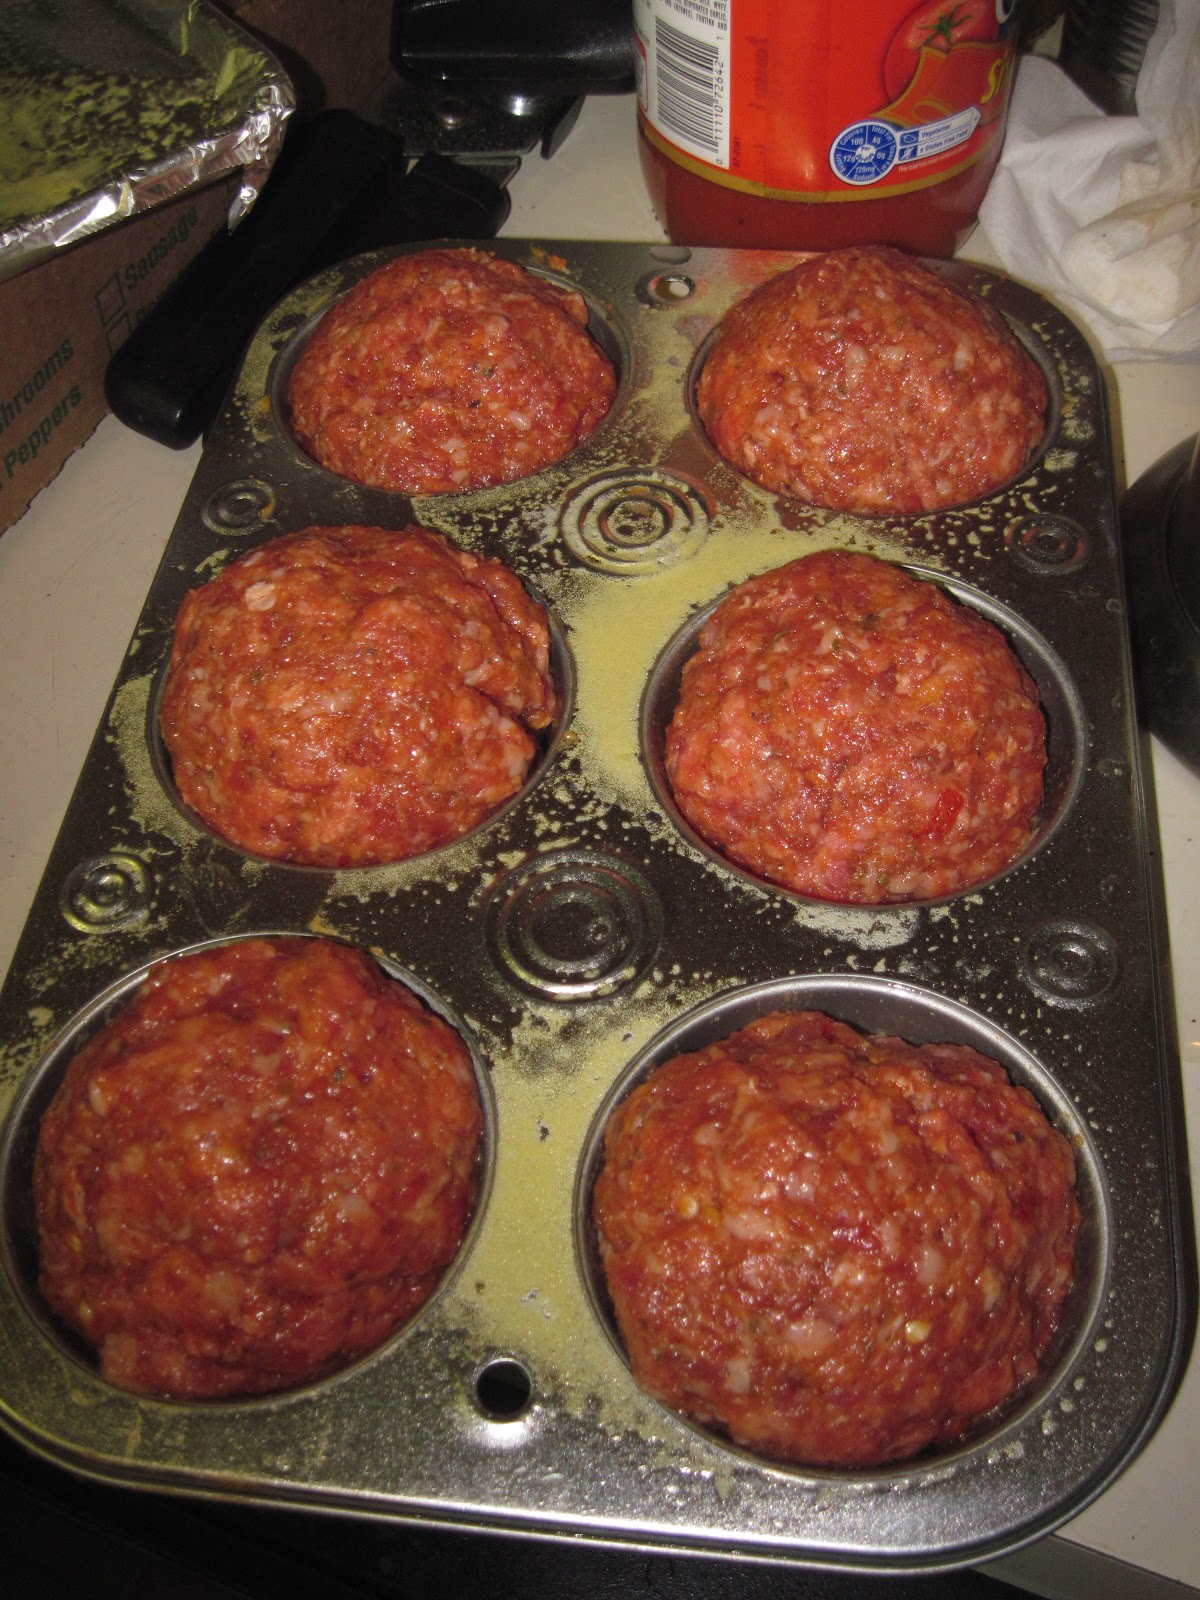
I actually thought of using the muffin tray as a way to make six even-sized meatballs.  But the tray kept the meatballs together and maintained their rotund shape.


So prepare to get messy and ball up a handful of meat.  You should get 6 baseball-sized clumps to fill the tray.  Pop it into the oven for 20 minutes.  Put a larger tray or sheet of tin foil under the tray to catch any oil that may drip

You can use this time to walk the dog, play a round of Wii Golf, or put up some spaghetti...  I did the latter.


After 20 minutes, make sure the meatballs are cooked fully through.  Take the tray out of the oven and let sit for a minute or two.  Scoop them out and place on a paper towel.  Wipe the gristle off the sides of the meat and you will see the round goodness.

Serve classically with pasta and tomato sauce.  Or place on a hero roll with sauce and mozzarella cheese for Meatball Parmesan!  These look so good, I wanna put one on top of a waffle cone!


Enjoy!